Written By: Bob Hesse, October 2012, Edited: Chip Hesse, September 2019
So last time we talked about the first steps, know the risk of placing potatoes into storage, harvesting a dry crop, and harvest temperatures. Read our Problem Potatoes at Harvest | Part 1 article here. Today’s article reviews the last 4 steps in the 7-Step Guide to Dealing with Problem Potatoes as well as diseases to watch out for while in storage.

STEP 4: GO INTO STORAGE CLEAN
A clean storage and a clean crop are winners. Grade out dirt, decay, vines, and other foreign material. Leftover spuds, debris and contaminated soil from the previous storage season can be just the ticket to initiate problems in even a clean new crop. Storage of diseased potatoes can be successful only if a very small percentage of the crop going into storage is infected. Absolutely take the time to pull all questionable tubers off the conveyor. It is impossible to see problems in some tubers, so definitely grade-out all spuds with visible problems.
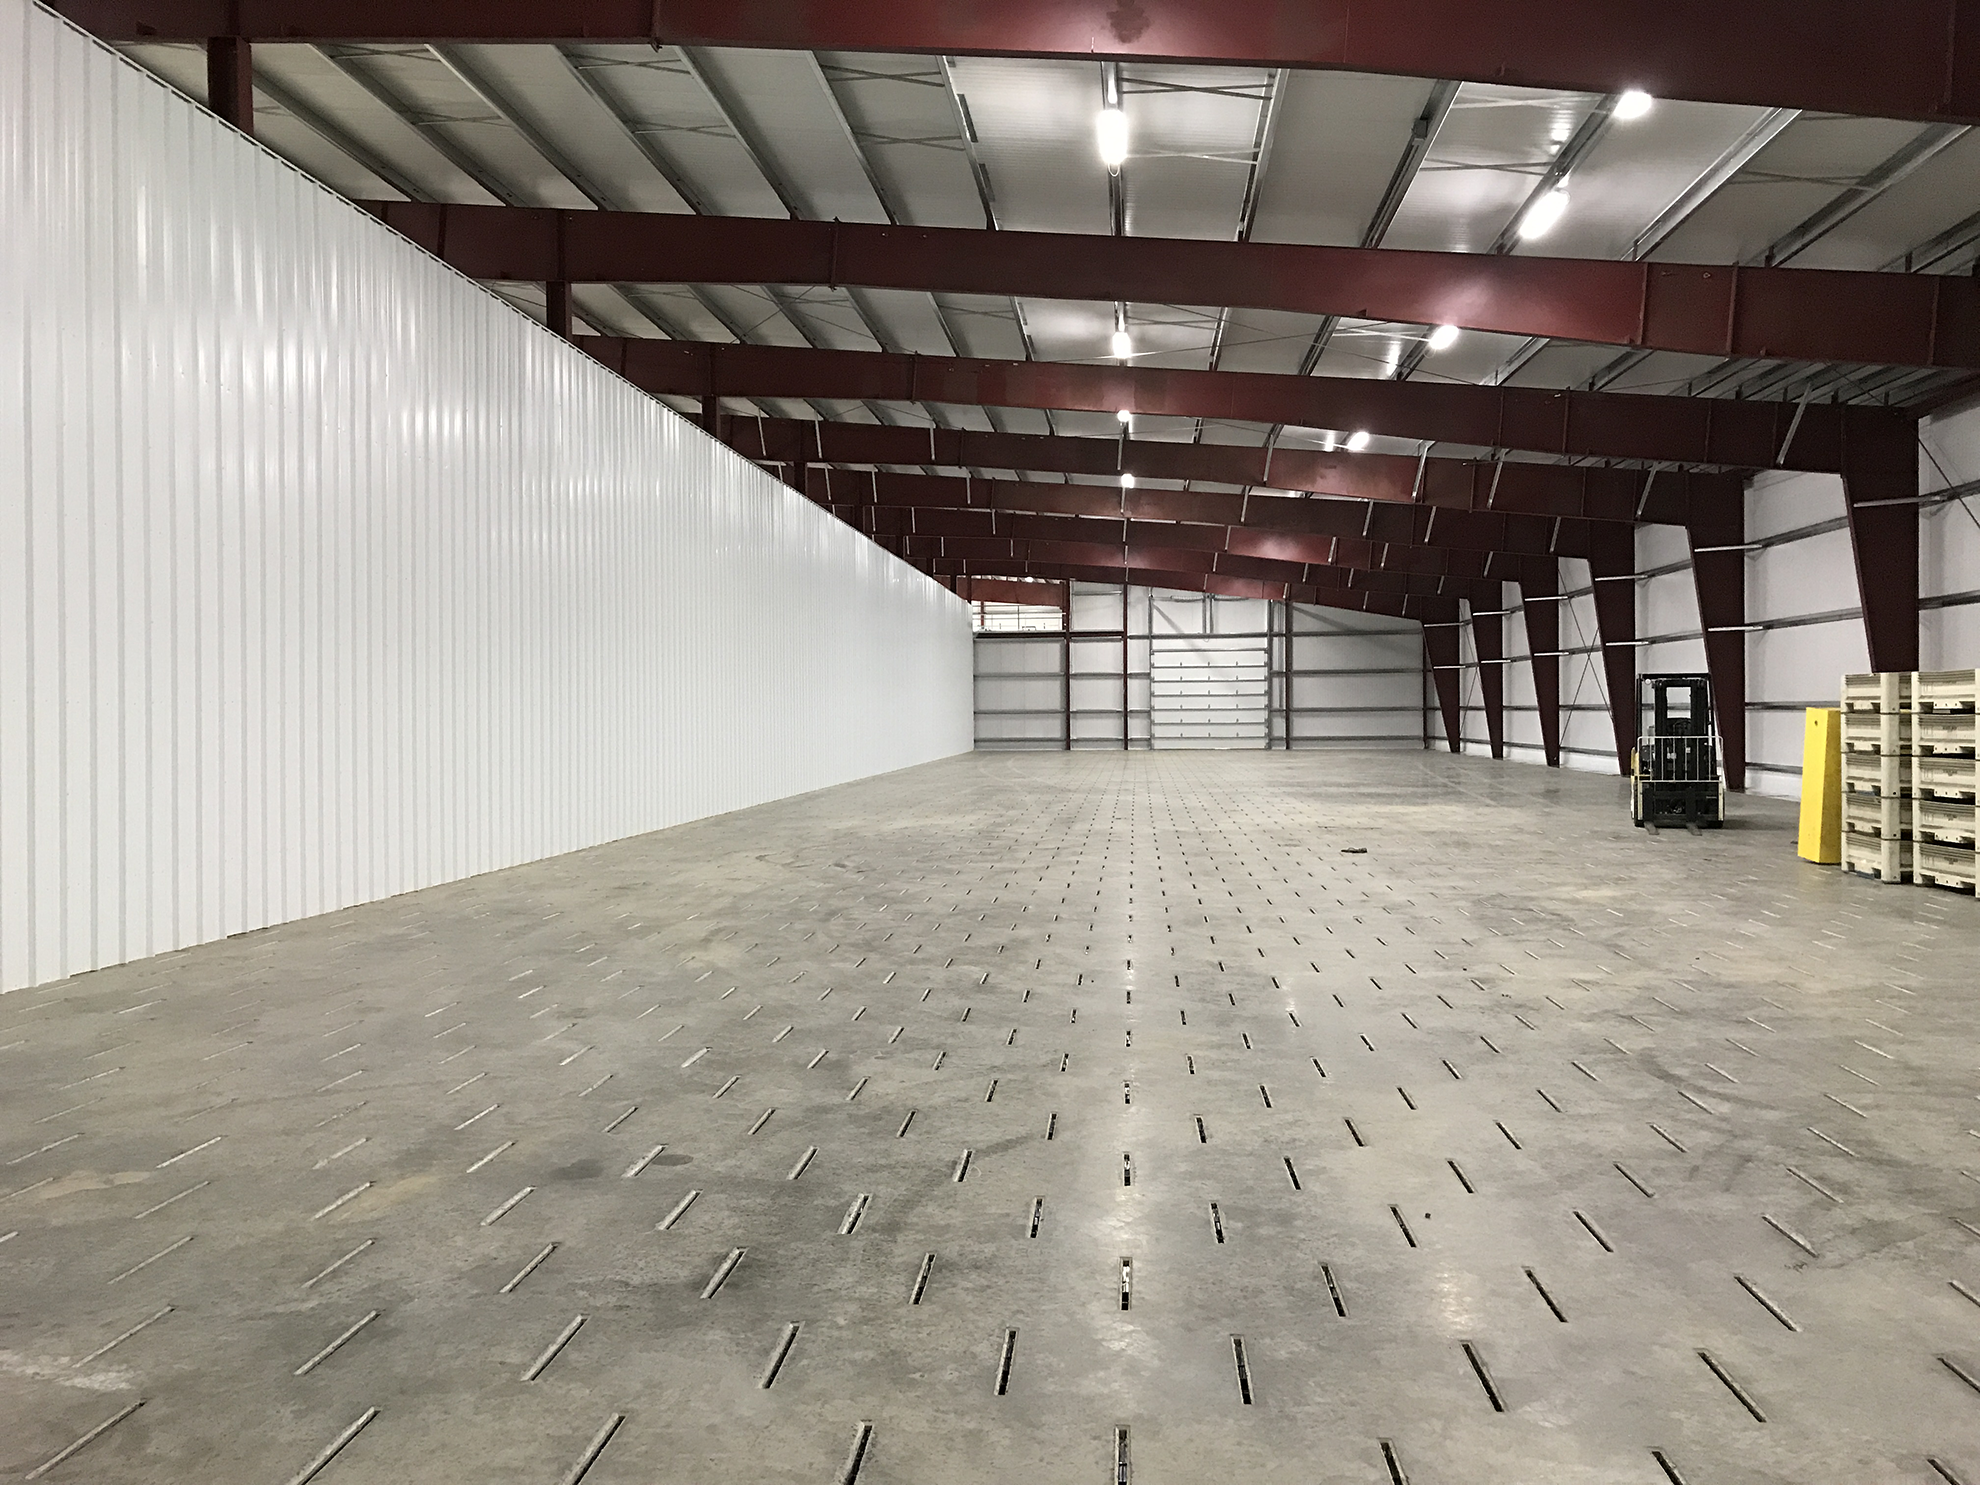
Dirt and foreign material can cause problems in a basically healthy crop. Think about the damage leftover pathogens can be to a marginal crop coming into storage. Concrete floors are easily sanitized. However, filthy, contaminated air pipe on an existing dirt floor can be a real issue with problem spuds. Summer heat will desiccate most bugs if the air pipe is basically clean. However, this is one more example where an air floor really shines. A properly designed concrete AirFloor system can be easily cleaned and disinfected. When you need to bring problem spuds into a clean, dry storage, storage preparation accomplished at least two weeks before harvest will usually allow a storage to be dried-out enough to accept problem spuds.
Implement a plan to bring your new crop into storage as clean as possible. Storage of diseased potatoes can be successful only if a very small percentage of the crop going into storage is infected. It is ideal to place an all-out effort to remove infected spuds and prevent any questionable potatoes from going into storage. Dirt and foreign material can cause problems – even in a basically healthy crop. Therefore, decay from infected tubers that will develop into bacterial problems is a certainty with wet dirt in the pile.
4th step takeaways:
- Clean storage and a clean crop are winners
- Clean airpipe (left out over summer) and prepped floor
- Dirt, Vines, and Foreign material block airflow through the pile
- Disinfect the storage at least two weeks before harvest
- Implement a plan to promote clean potatoes into storage
- Excellent uniform airflow through the pile is a must to remove heat from respiration
- Rot from infected tubers is a certainty with dirt in the pile
- Storage crop will probably not be successful if more than 2-3% of crop is infected
- Remove all infected potatoes from the conveyor
- Although Late Blight may not spread from tuber to tuber, decay will promote bacterial problems that can spread

STEP 5: CONTROL PULP TEMPERATURE IN STORAGE
Controlling pile temperature during harvest is important with a healthy crop. Controlling pile temperature with problem spuds is mandatory. Only if you know with certainty, the pulp temperatures coming into storage, will you do a good job dealing with problems.
When potato temperature during harvest is above 10ºC, supply air temperature during harvest should be 0.5°C or1C°F lower than the coolest pulp brought into storage. With problem spuds, getting rid of heat in potatoes harvested warmer than 10°C is mandatory. Have an operator or observer take the time to record representative pulp temperatures from each load in a spreadsheet. Cut-off digging when pulp begins to reach 18ºC. At the end of each day review the temperature range for the day, and note how the coolest pulp for the day compares to the set point you have been using.
Air recirculated while loading the storage will be more humid, even without a lot of supplemental humidification. If the supply air is warmer than pulp coming into storage, remember that condensation will form on the cooler tubers. The pulp temperature of spuds coming into storage compared to the pulp temperature of spuds already in storage also must be considered with problem potatoes.
When daytime temperatures are warmer than set point, and supplemental humidification is off because you are trying to tend to problems, it is not wise to run the system with the doors open. Unless of course your system has refrigeration capability that will cool supply air to your desired set point. The system running with the storage entry doors open is almost a guarantee of hosing-down cooler tubers. Free water is lethal.
The first spuds into storage are usually warmer than potatoes that follow. So, as harvest progresses, and temperatures cool, lower your supply air set point accordingly. Using a set point 0.5° or 1°C lower than the coolest pulp brought into storage removes heat from the pile, helps to minimize weight loss, and eliminates condensation forming on tubers.
Each morning during harvest, after the system has run all night, walk the top of your pile and compare pulp temperatures with recordings for previous days. If the pulp temperature on top of the pile increases: lower the set point, and if possible, run the system longer each day. Do not allow the temperature on top of the pile to increase!
5th step takeaways:
- Storage supply air temperature must be 0.5°C – 1°C cooler than the coldest pulp temperature measured
- Monitor humidity in recirculated air while the storage is being loaded
- Pay close attention to the top of the pile

STEP 6: PAY STRICT ATTENTION TO AIRFLOW
Adequate supply air at the correct temperature and humidity is vital for problem potatoes. This is often the weak link for successful storage of problem potatoes. Even in modern storage, the weakest element for excellent control of problems in storage is adequate uniformly distributed air. A clean pile allows good air movement, and good air movement through the pile is necessary to remove heat from respiration. Continuous air system operation is essential until moisture and decay are under control.
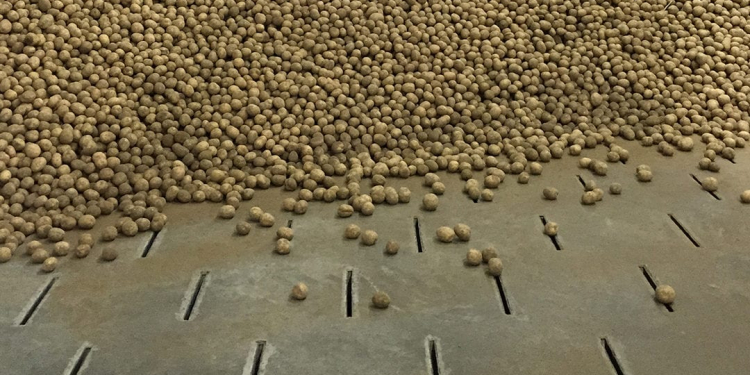
Consider the plenum a pressure chamber that must uniformly supply air to each duct. And likewise, consider each duct a pressure chamber that must uniformly supply air to each vent hole. A properly designed air system achieves uniform distribution by assuring that the highest pressure drop in the system is at the discharge holes in the airpipe (or in the floor vent holes of an airfloor). This is usually accomplished by having the lowest supply air velocity at the plenum entrance, followed by the next highest supply air velocity at duct entrances, and with the very highest supply air velocity at the discharge holes to the pile. The pressure drop through the pile is almost insignificant in a clean, dirt-free pile. If this is not true, your pressure drops are even higher, and you may not be getting even close to the air you think you might be getting.
Use care to align air pipe joints to minimize leakage. Air pipe with damaged or poorly formed ends should be taped at joints to reduce leakage. In order for any duct or airpipe run to actually be pressurized, the end cap must be in place.
A smooth, level top of pile is a huge advantage for detecting abnormal airflow. Conversely, ridges and changes in pile height in a storage can make management of problem potatoes significantly more difficult.
6th Step Takeaways:
- Know the air you have to start with, that way you know how to properly adjust for either direction that is needed
- Minimize pressure drops
- Adequate air is important with problem potatoes
- Smooth top of piles provides easy rot detection

STEP 7: MONITOR STORAGE MOISTURE
Surface moisture on infected tubers is a certain route to disaster. By now you understand that any wet potatoes brought into storage must be dried as rapidly as possible. But, breakdown from problem potatoes can inject unwanted moisture into the pile, even if the spuds were not placed in storage wet, and even if condensation is not the cause. Regular duct inspection with a flashlight is a key management technique.
Forcing additional airflow to areas of breakdown in the pile will help, especially if outside air is used, so that the moisture absorbed by the air is exhausted. The top of the pile is the best indicator of progress and success managing the problem. The first month in storage is critical.
Most authorities agree that a supply air relative humidity between 90 and 95% will allow good suberization and limit development of pathogens. During harvest, supply air relative humidity is usually in this range simply due to surface moisture. However, when free water is present, especially with infected tubers, supply air with very low moisture content must be used to dry the pile. So, the message here is to make certain that any problem tubers in storage are dry. Carefully manage storage temperature and humidity to control moisture in the pile.
85%-95% Relative humidity in supply air is usually present without much supplemental humidification.
7th step takeaways:
- Look for leaking indicators in airpipe or airfloor ducts
- Monitor the top of the pile! Especially for the first month in storage
- No wet potatoes in storage
- Operate humidification during the first month only if your assessment of infection suggests minimum concern, no wet tubers are present, or if humidification is necessary to achieve 85% RH.
- Never blow warmer supply air on cooler potatoes
- Constantly inspect ducts in airpipe for excessive standing water
- It is normal to have water in the airpipe or air duct even with 85% RH supply air
- Return air temperature cooler than supply air suggests a moist pile or very dry supply air
Rot and Disease in storage:
WATER ROTS
If either Pink Rot or Pythium Leak is present at harvest, make a decision to either not harvest and bring infected tubers into storage or grade-out all visibly affected tubers.
If Pink Rot or Pythium are discovered after potatoes are placed in storage, continuous airflow to the infected portion of the pile is mandatory to reduce development of secondary bacterial soft rots.
LATE BLIGHT
Late Blight is a fungus that survives in cull potatoes from one season to the next. Wind can carry spores from adjacent fields to a healthy crop. Wet field conditions promote development of the fungus. Surface moisture on infected tubers in storage promotes spore development, and a Late Blight presence greater than 2% or 3% is a serious storage problem.
If potatoes infected with Late Blight must be placed in storage, plan to move them to market as soon as possible.
SILVER SCURF
Silver Scurf spores that remain in storage from the previous crop will be transmitted to a new crop in storage by the air system. Consequently, thorough storage sanitation is mandatory prior to harvest. Silver Scurf does spread in storage. Optimum storage temperature for control of Scurf is 38°F or lower. Spore germination can be controlled in storage if potatoes are dry, and a relative humidity less than 90% is present for the first month of storage.


